
REVIEW · USA
Moab: The Windows Astro-Photography and Stargazing Hike
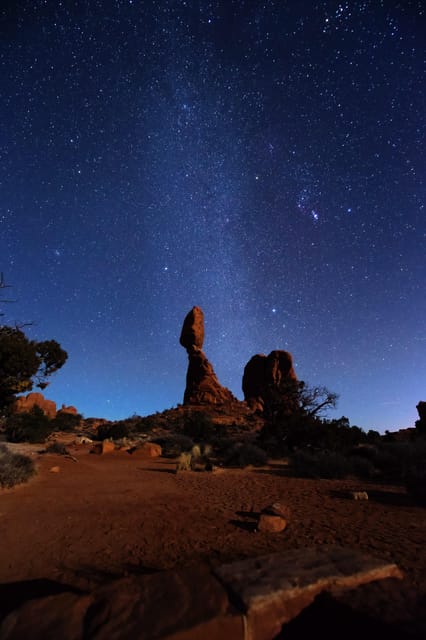
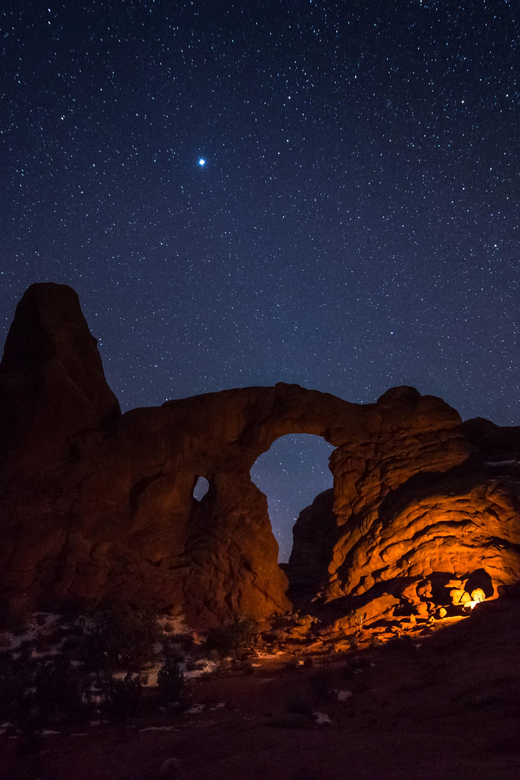
The best part of this Arches experience happens after the park empties out. Under a dark Utah sky, you hike past the North and South Windows, Turret Arch, and Double Arch while your guide helps you photograph stars that your eyes may only partly catch. The Milky Way and the red-rock arches make a fine pair.
I like the small group, limited to six people, and the practical photography help. Guides such as Sam and Brandon work patiently with phones as well as cameras, so you do not need a costly DSLR to take part. I also like that tripods and red LED headlamps are supplied. The main drawback is the price: $175 per person, before the Arches entry fee and any camera rental, for a two-hour outing.
Key points at a glance
- A two-mile night hike begins at the Windows trailhead, with North Window, South Window, Turret Arch, and Double Arch along the route.
- Guides Sam and Brandon focus on hands-on instruction, including phone photography, camera settings, constellations, and safe movement around dark rock.
- Tripods and red LED headlamps are included, though you must bring your own camera, water, hiking shoes, and charged smartphone.
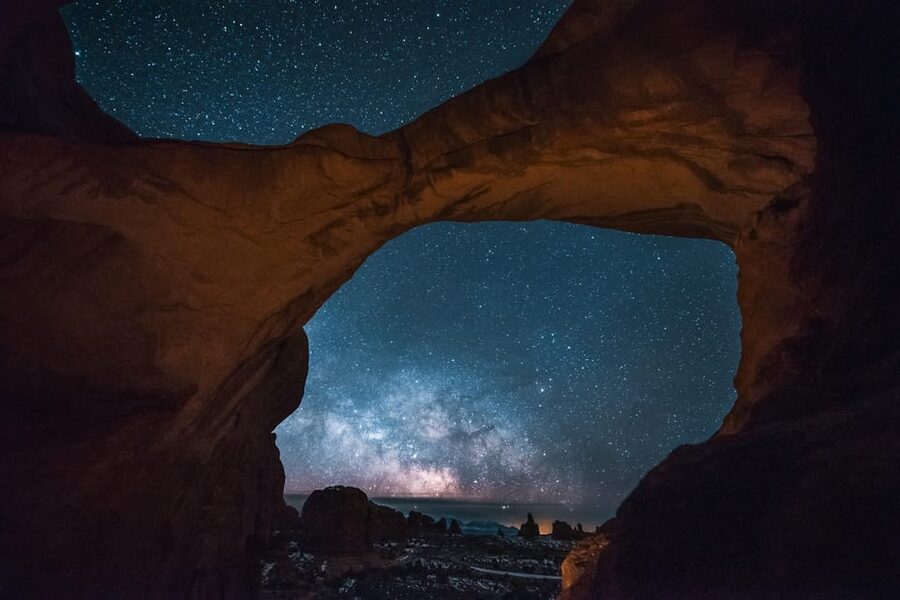
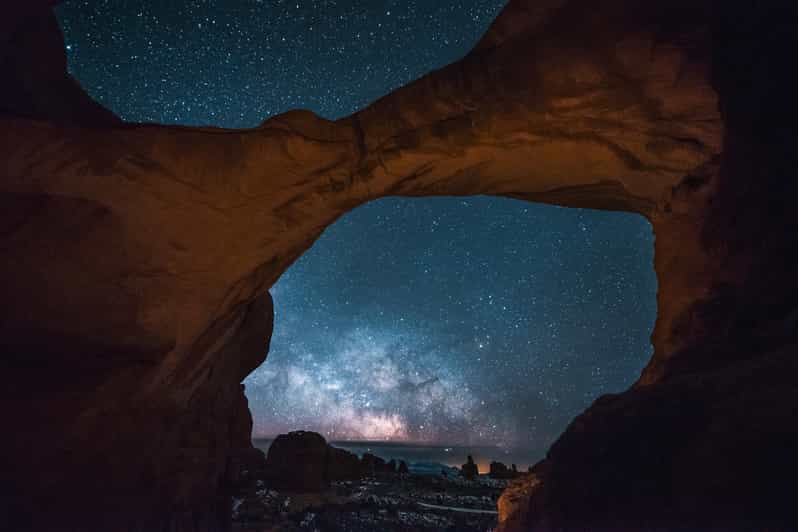
- Double Arch is the photographic high point, with a broad view of the night sky framed by massive sandstone.
- A full moon changes the mood, while darker lunar phases are better if your main goal is the Milky Way.
- The $175 cost buys a small, guided lesson in a national park, but you still pay the $30 standard vehicle entry fee and extra for DSLR rentals.
Why Arches after dark feels different
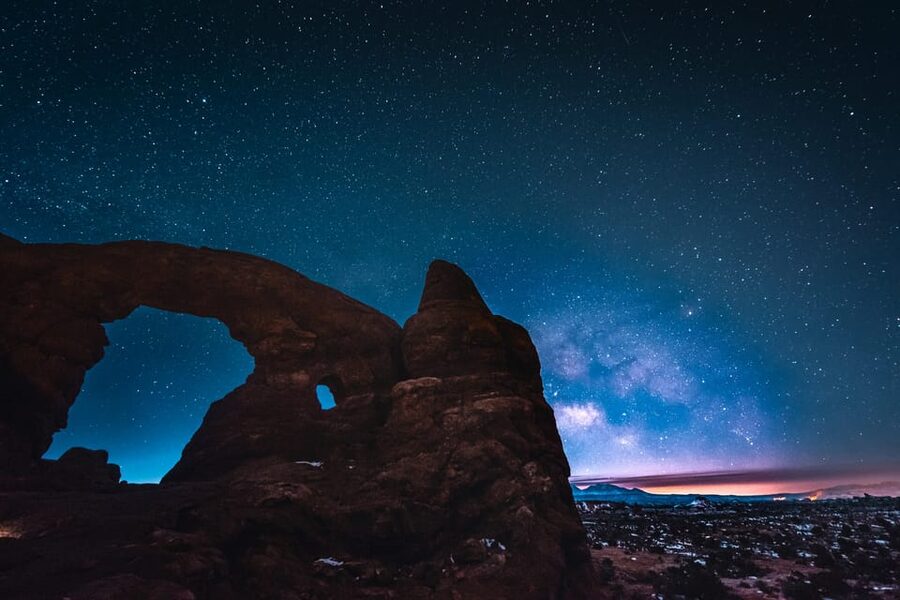
Arches National Park is famous for its red rock by daylight. At night, the place becomes quieter and more spare. Your headlamp picks out the trail and the nearby stone, while the sky takes over much of the view.
This is not simply a stargazing stop beside a car. You walk roughly two miles through the Windows area, moving between famous formations and photography locations. That walking matters. It gives the outing a sense of place and helps you notice how the arches look under moonlight, starlight, or near-total darkness.
The park is far from city light, which makes the sky the main attraction. On a clear night, you may see the Milky Way with your eyes. A camera can record even more light, so your finished image may show stars and detail that were not obvious during the hike. That is normal, not a sign that your camera is cheating.
The lunar cycle changes the experience. A full moon can light the arches and make the walk easier to see, as happened for Wendy, who found the moonlit setting especially beautiful. A darker sky gives the Milky Way more contrast. If dark skies are your priority, contact Moab Dark Sky Tours before booking so the guide can help decide if the timing suits you.
More Photo Trips in the USA:
- Antelope Canyon X Hiking Tour (with Option Upgrade to Photo Tour)
★ 4.5 · 161 reviews - Sunset Hike and Photography Tour near Red Rock with Optional 7 Magic Mountains
★ 5.0 · 149 reviews - From Kanab: 3-Hour Peek-a-Boo Slot Canyon Hiking/Photo Tour
★ 4.9 · 25 reviews
Meeting at the Windows parking area
You meet your guide after dark in the first parking lot on the right at the Windows parking area. Transportation is not included, so you need to reach Arches National Park and the trailhead yourself.
You also need an Arches entry pass. The supplied price is $30 per standard vehicle, separate from the tour fee. If you are already planning to visit the park during the day, this may fit neatly into your schedule. If this is your only park visit, remember to add that cost when comparing the tour with a self-guided night stop.
The guide gets the group organized with red LED headlamps and tripods. Red light is useful at night because it helps you see the trail without flooding the area with harsh white light. The supplied tripod is especially helpful if you are using a phone or a camera without a sturdy support of your own.
The group is limited to six people. That is a meaningful advantage for a photography lesson. You can ask for help with your own camera instead of waiting behind a large crowd, and the guide has a better chance of checking each person’s setup.
The first steps: learning to work in the dark
The tour begins with the basic mechanics of night photography. Your guide explains how to operate your camera in low light and how to set up a shot with a tripod. The exact instruction will depend on the camera or phone you bring, but the focus is practical rather than technical for its own sake.
Sam has helped people use both cameras and phones, and Brandon has been praised for patient explanations of camera and iPhone features. That is important because many visitors arrive with mixed equipment. One person may have a DSLR, another a newer phone, and another a basic camera. The outing is designed to give each person useful guidance rather than assume everyone already understands manual settings.
Bring a charged smartphone even if you plan to use a dedicated camera. It can be useful for taking your own comparison shots, using phone night modes, or following instructions for mobile photography. The guide may be able to help you get surprisingly good results from a phone, but you still need to bring it charged and ready.
If you want a DSLR camera or a DSLR lens, arrange the rental before the tour. Compatible lens mounts include Canon EF and EFS and Nikon F. These rentals cost extra, so ask about the equipment and price before you arrive. A rental may make sense if you are serious about getting a strong image but do not own suitable gear. It makes less sense if your main goal is simply to experience the park at night.
North Window, South Window, and Turret Arch
The route takes you through the Windows area, a concentrated collection of sandstone formations. You see North Window and South Window, then Turret Arch. In daylight, these are popular viewpoints. At night, the lack of visual clutter changes your attention.
Your guide helps you move safely, pointing out drop-offs and places where you need to watch your footing. Brandon was especially careful about warning the group when it came too close to an edge. That kind of guidance is not a minor detail. Darkness can make a familiar trail feel unfamiliar, and the rocks around the Windows deserve your full attention.
The formations also provide natural frames for photographs. Rather than pointing your camera at a blank sky, you can include an arch or a slab of red sandstone in the foreground. This gives the image scale and tells the story of where you were.
You will have time to practice as you go. That is better than waiting until the last stop to try every setting. You can test a shot, review it, and make changes while the guide is nearby. The process also shows why a tripod matters: longer exposures require the camera to stay still.
The route is about two miles, but the challenge is not just distance. You are walking after dark over rocky ground, so hiking shoes are appropriate. The experience is not suitable for wheelchair users or people with mobility impairments, and children under six cannot join. Pets are not allowed.
A few more hikes around the USA worth a look
- Lower Antelope Canyon Hiking Tour
★ 5.0 · 6,216 reviews - Boston Freedom Trail Walking Tour with Costumed Guide
★ 4.5 · 2,531 reviews - Multnomah Falls and Columbia River Gorge Half-Day Hiking Tour
★ 5.0 · 2,108 reviews - San Francisco: Yosemite National Park & Giant Sequoias Hike
★ 4.5 · 1,777 reviews
Double Arch and the best photo opportunity
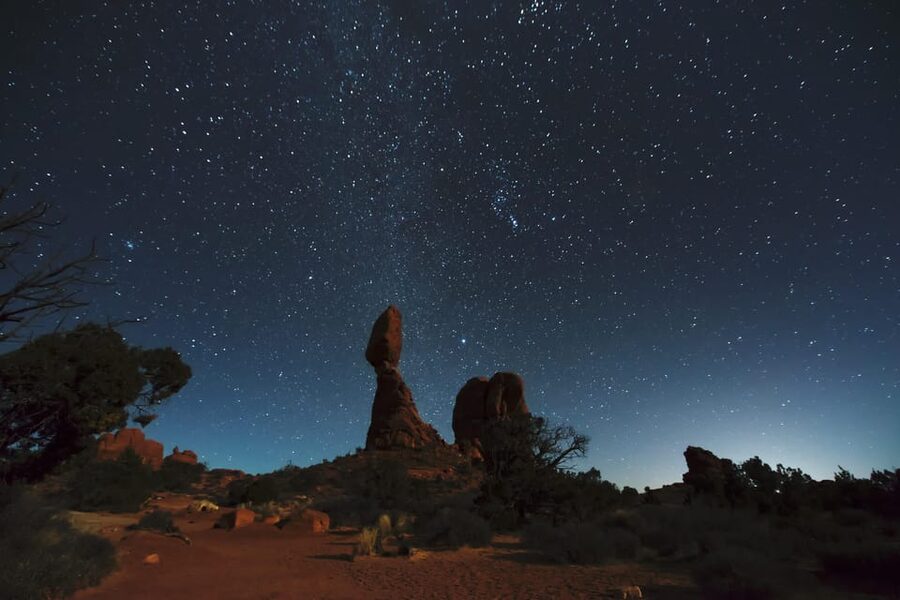
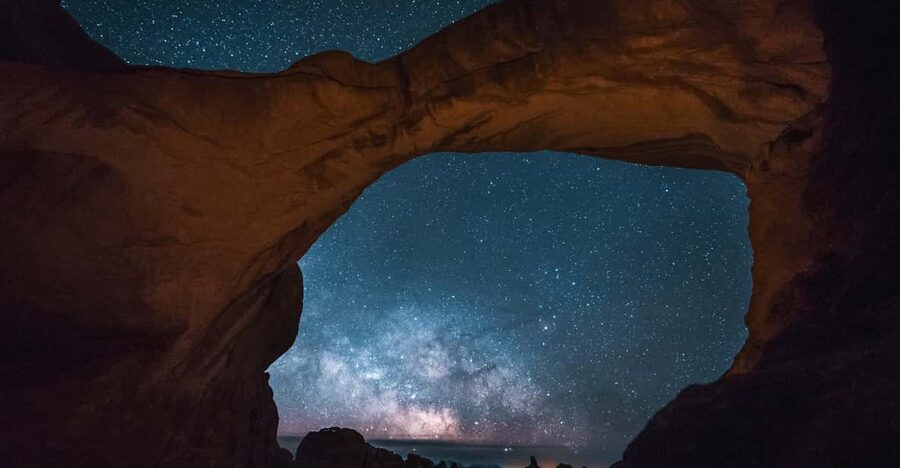
Double Arch is the highlight of the area and the strongest closing location for the photography portion. Its broad stone forms give you a dramatic foreground while the sky opens above. This is where your earlier practice with focus, exposure, and framing starts to pay off.
The guide gives you time to work on your own images rather than rushing everyone through a single snapshot. You can try a wider composition, include the arch, or aim higher to bring more of the sky into the frame. The exact result depends on clouds, moonlight, equipment, and your settings, so do not expect every outing to produce the same picture.
Weather is the great unknown. Clear skies are best for stars, but a moonlit night has its own appeal. Jacqueline happened to see the northern lights during a clear November outing, an unusual bonus that cannot be promised. You should book this for the night hike and photography lesson, not for a guaranteed astronomical event.
One person also described looking through a telescope at Saturn and having a few images edited by the guide. Telescope viewing is not listed as a standard inclusion, so ask Moab Dark Sky Tours if that will be part of your particular departure. The dependable features are the guide, walking tour, red headlamps, and tripods when needed.
What you really learn about night photography
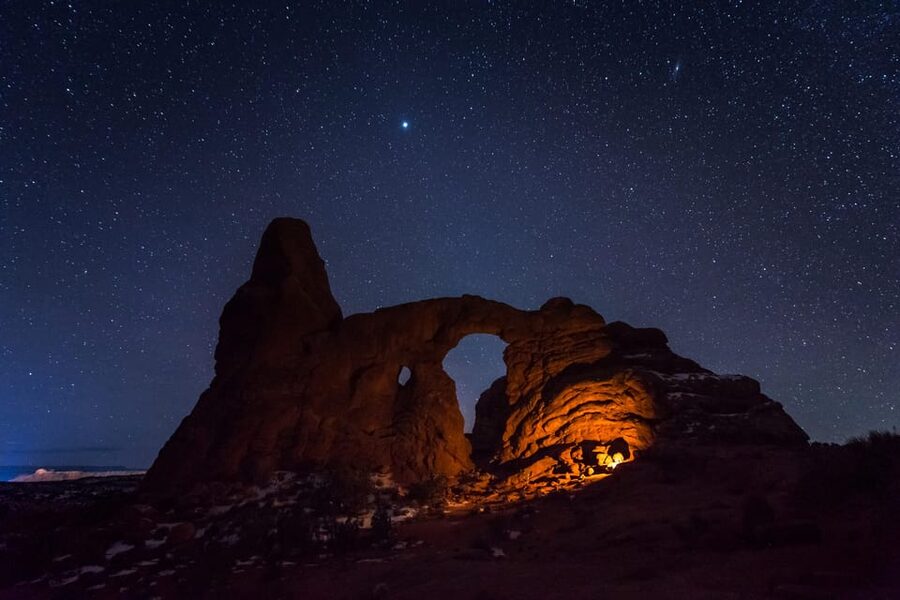
The useful lesson here is not just how to press the shutter. It is learning how to think about a dark scene.
You discover how a tripod allows a longer exposure, how the camera can collect faint light, and how a foreground object gives a star photograph shape. You also learn that the image on the camera screen may reveal more than your eyes can see. Pictures can pick up light that is invisible to you at the time.
The guide can help with basic camera operation, but you should not expect a formal classroom course in every brand and model. Bring equipment you can manage, and have the battery charged before you arrive. If you rent gear, give yourself time to become familiar with it during the outing.
The phone instruction is one of the strongest reasons to consider this tour even if you are not a serious photographer. Sam and Brandon have worked with iPhone users and shown them how to improve their night images. A phone will not give you the same control as a DSLR in every situation, but you can still leave with a useful set of techniques.
The social side also matters. A small group lets you ask questions without making the whole tour stop for a long lecture. You can learn from the questions other people ask, too, especially when the group brings different cameras.
Is $175 per person a fair price?
At $175, this is not a cheap add-on. Two people pay $350 before the park entry fee, and a DSLR or lens rental raises the total. You also need to arrange your own transportation to the Windows parking area.
The value comes from three things: the small group, the guide’s photography help, and access to Arches after dark as part of a planned walking route. If you already know night photography and have a tripod, you may prefer to visit on your own. If you want to learn quickly, do not want to work out the trail in darkness alone, or hope to get better images from a phone, the fee is easier to justify.
The guides receive the most consistent praise for patience, friendliness, safety, and camera instruction. That matters more here than a long list of included equipment. A tripod is useful, but personal guidance is what can turn a failed dark image into something you understand and can repeat later.
The free cancellation window also reduces some risk. You can cancel up to 24 hours before the activity for a full refund, and you can reserve now and pay later. Check the available start times because the two-hour schedule changes with availability.
Who should book this night hike?
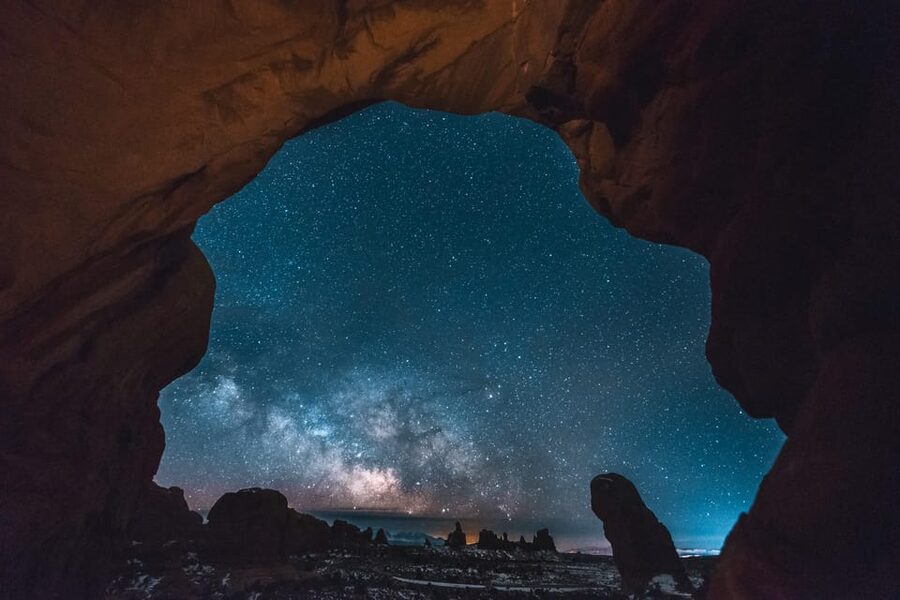
I would choose this for a first serious attempt at photographing stars, especially if you are visiting Moab without much night photography experience. It also suits couples, friends, and small groups who want a quieter second look at Arches after a daytime park visit.
Phone photographers are welcome in practice, not just in theory. The guide can help you use phone features, and the included tripod can make a real difference. Camera owners will get more control, especially if they understand their equipment or arrange a rental in advance.
This is less suitable if you dislike uneven trails, have trouble walking two miles, or want a guaranteed view of the Milky Way. Clouds, moonlight, and conditions can change the result. It is also not a good choice for families with children under six, wheelchair users, or anyone bringing a pet.
What to bring for a better evening
Pack light, but bring the basics:
- Your camera and a charged smartphone
- Hiking shoes with a secure fit
- Water
- A fully charged camera battery and phone
- Any camera accessories you already know how to use
The tour supplies red LED headlamps and tripods if needed. You do not need to buy a tripod just for this outing. If you want a DSLR camera or compatible lens, arrange that separately before the start.
Wear clothing suitable for being outdoors at night. Specific weather guidance is not provided, so check the forecast before leaving. The guide can help with photography, but you remain responsible for arriving prepared for a dark, rocky walk.
My verdict: book it for instruction, not just stars
I recommend the Windows Astro-Photography and Stargazing Hike if you want a guided introduction to night photography in one of Utah’s most striking settings. The strongest reasons to book are the six-person limit, hands-on help from guides such as Sam and Brandon, and the chance to practice at North Window, Turret Arch, and Double Arch rather than simply look at the sky from a parking lot.
Think carefully about the cost. At $175, plus park admission and possible rentals, it is best for someone who values instruction and a carefully planned night outing. If you only want to see stars, a self-guided stop may cost less. If you want to understand your camera, stay safer on the dark trail, and come home with images that show both the sky and Arches, this tour earns its place in a Moab itinerary.
FAQ
Where does the tour meet?
Meet your guide after dark at the Windows parking area in the first parking lot on the right.
How long is the experience?
The activity lasts two hours and includes roughly two miles of hiking from the Windows trailhead.
Which Arches formations will I see?
The route includes the North Window, South Window, Turret Arch, and Double Arch.
Is the Arches National Park entry fee included?
No. A $30 entry pass per standard vehicle is separate from the tour price.
What equipment is included?
The tour includes red LED headlamps and tripods if needed. You must bring your own camera and charged smartphone.
Can I rent a camera or lens?
Yes. A DSLR camera and DSLR lenses with Canon EF, Canon EFS, and Nikon F mounts are available for an additional fee. Arrange the rental before the tour starts.
Can I use a smartphone instead of a DSLR?
Yes. The guides can help you with phone photography, including night photography features.
Is the hike suitable for children and wheelchair users?
Children under six cannot join. The activity is not suitable for people with mobility impairments or wheelchair users.
Can I cancel or reserve without paying today?
You can cancel up to 24 hours in advance for a full refund. The reserve-now, pay-later option lets you book without paying immediately.
Just added around the USA
- Anchorage: Full-Day Matanuska Glacier Hike and Tour★ 4.7 · 48 reviews
- Oahu: Manoa Falls Hike and east side beach day★ 4.9 · 10 reviews
- From Springdale: Greater Zion Scenic Hiking Tour★ 4.9 · 21 reviews
- From Springdale: The Zion Narrows Hike with Lunch★ 4.8 · 85 reviews
- From Seward: Harding Icefield Trail Hiking Tour★ 5.0 · 11 reviews
- From Sedona: Archeology and Nature Hike★ 4.9 · 8 reviews
- From Seward: 6-hour Wilderness Hiking Tour★ 4.5 · 5 reviews
- From Rapid City: Private Devils Tower Tour and Hike★ 5.0 · 6 reviews
USA Hiking Tours, compared.
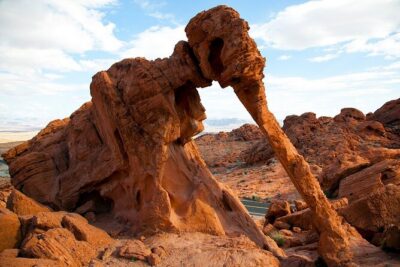
Small Group: Valley of Fire Half Day Tour from Las Vegas
Read our review →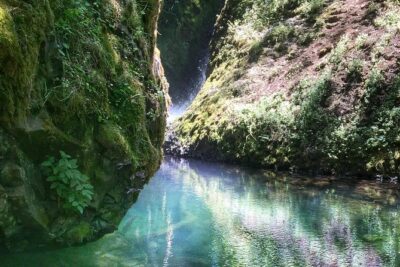
Multnomah Falls and Columbia River Gorge Half-Day Hiking Tour
Read our review →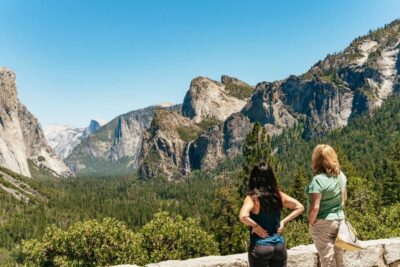
San Francisco: Yosemite National Park & Giant Sequoias Hike
Read our review →
Small Group Waterfall and Rainforest Hiking Adventure on Maui
Read our review →
Kauai Adventure: Kayak & Hike to Secret Falls with Expert Guide
Read our review →Browse the lists this tour appears in