
REVIEW · ICELAND
Sólheimajökull: Glacier Hike and Ice Climbing Tour
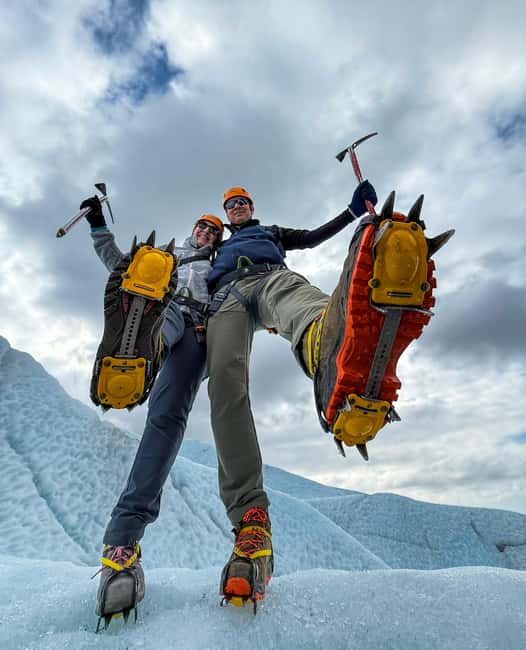
Sólheimajökull is not a scenic backdrop you simply admire from a distance. You walk onto the ice, pass blue ridges and water cauldrons, peer toward crevasses, then plant your axe into the glacier for a real introduction to ice climbing. That hands-on change from hiking to climbing is the main reason this four-hour outing feels special.
I like the small group of six, which gives your guide room to adjust the pace and offer more climbing time. I also like the practical setup: your guide supplies the crampons, ice axe, harness, and safety briefing, while tea, coffee, water, and restrooms are available at base camp. The tradeoff is clear: you must drive yourself to the glacier, bring warm clothing and hiking boots, and accept cold, wind, and changing conditions.
Key points at a glance
- Walk across active volcanic ice: Sólheimajökull sits above active volcanoes and mixes white ice with blue and smoky tones.
- Try real ice climbing: After the hike, your guide rigs a short climbing session that is moderately difficult.
- Keep the group personal: No more than six people join the outing, allowing useful one-to-one help.
- Expect a full glacier briefing: You receive crampons, an ice axe, a harness, and safety instructions before stepping onto the ice.
- Plan your own transport: The glacier is about 2.5 hours from Reykjavík and 45 minutes from Vík.
- Bring the right clothing: Rain gear, hiking boots, warm layers, and lunch are not included.
Walking onto Sólheimajökull’s blue and smoky ice
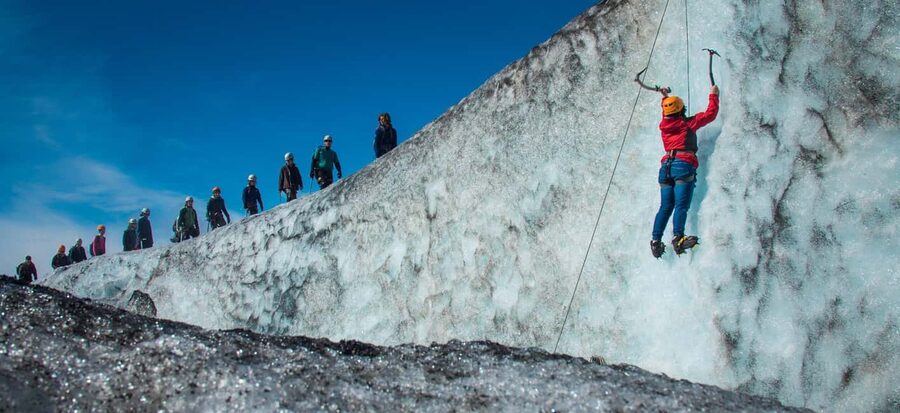
The outing begins at the operator’s base camp beside the Sólheimajökull parking area. Arrive at least 20 minutes before departure. That early arrival matters because you need time to check in, meet your guide, and get fitted with glacier gear before the group leaves the lot.
Your guide starts with safety information and explains how to use the equipment. You receive crampons for traction, an ice axe, and a harness. This is not a casual stroll in ordinary footwear. The gear helps you move across uneven ice, but it does not replace warm clothing, waterproof protection, or sensible boots.
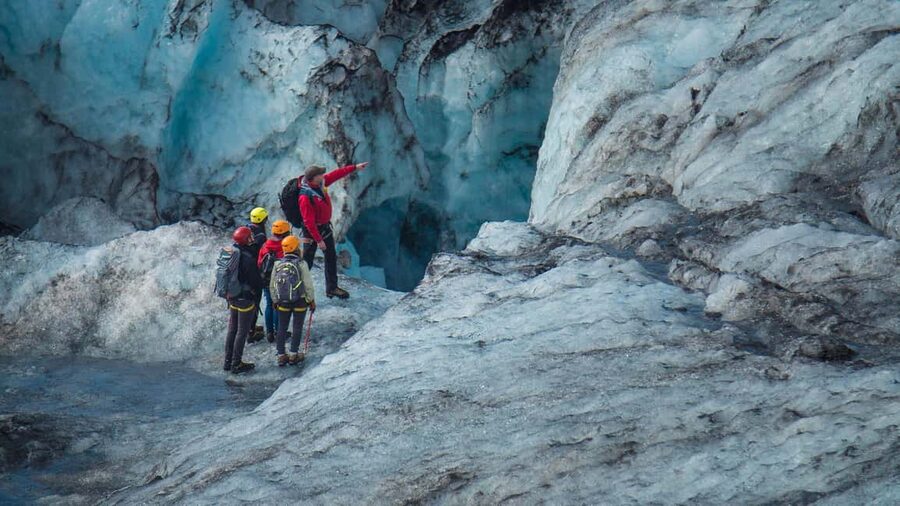
Once you step onto Sólheimajökull, the setting changes quickly. The glacier is a broad field of ice shaped by pressure and movement. Its surface can show clean white sections, blue ice, and smoky shades where the ice has compressed over time. The open space, wind, cold, and height give the walk a raw feel that a viewpoint beside the road cannot match.
I especially like that the hike is described as easy, while the later climbing session adds a stronger physical challenge. You do not need to spend four hours attempting technical climbing. Instead, you get a guided walk first, then a clear introduction to the more demanding skill.
More Glacier Hikes in Iceland
- Skaftafell: Ice Cave Tour and Glacier Hike
★ 4.5 · 1,746 reviews - Skaftafell: Falljokull Glacier Easy Group Hike
★ 4.7 · 1,508 reviews - Reykjavik: Glacier Hike, Waterfalls and Black Sand Beach
★ 4.8 · 1,285 reviews
Reading the glacier through ridges, cauldrons, and crevasses
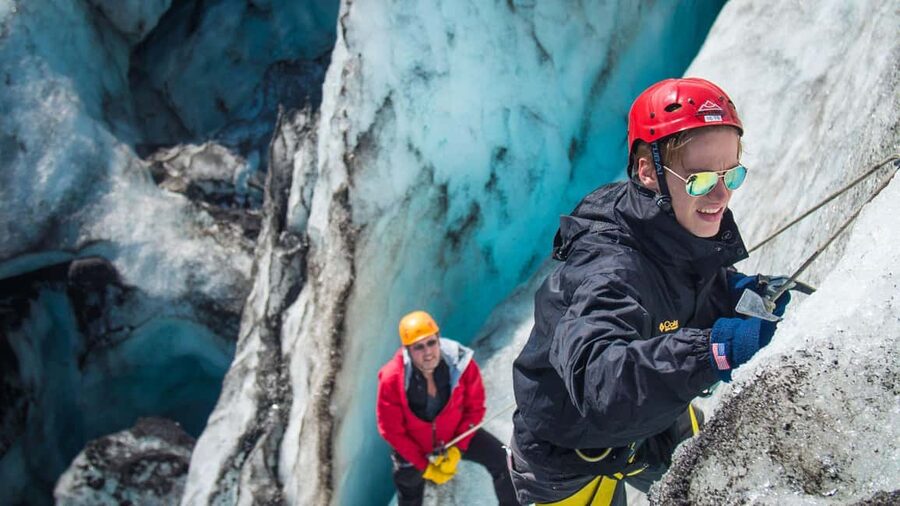
The route takes you among ice ridges, water cauldrons, and deep crevasses. These are not decorative features placed for photographs. They show how glacier ice bends, drains, cracks, and shifts.
A water cauldron gives you a look at the way meltwater shapes the ice. Ridges create uneven routes and changing views. Crevasses reveal the glacier’s depth and movement, though your guide decides where the group can safely walk and climb. You should follow instructions closely and stay with the group rather than wandering toward an attractive formation for a better picture.
The guide also explains the glacier as you walk. That adds value to the outing because you are not only seeing unusual ice shapes. You are learning why the ice looks the way it does and how to move through it safely.
The scenery can feel almost otherworldly, but the conditions are very much of Iceland. Winds can whip across the open ice, and temperatures may feel lower than they do in nearby towns. Bring warm layers and rain gear even if the weather looks calm at the parking area. Weather protection is not included, and lunch is not included either, so pack food if you need it during the four-hour activity.
Learning the ropes with ice axes and crampons
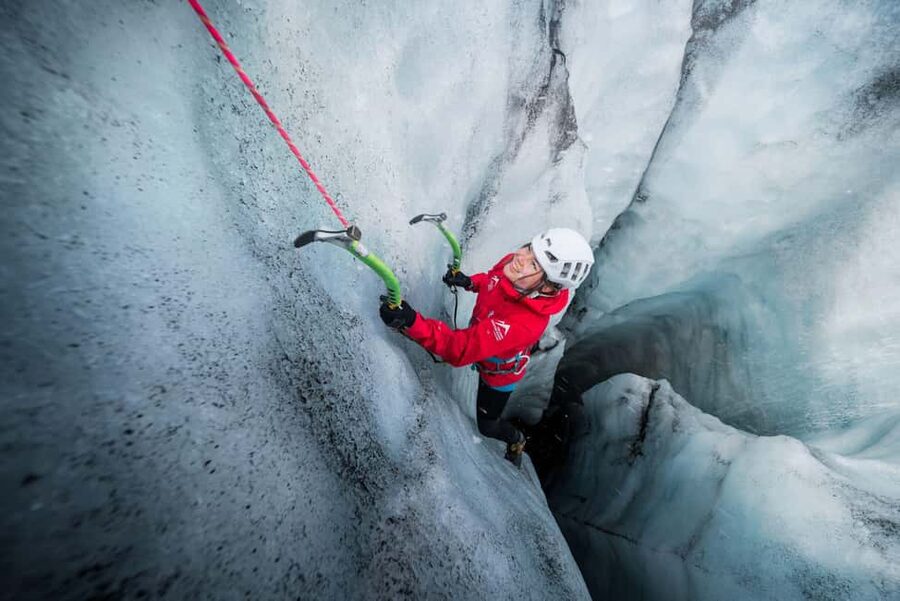
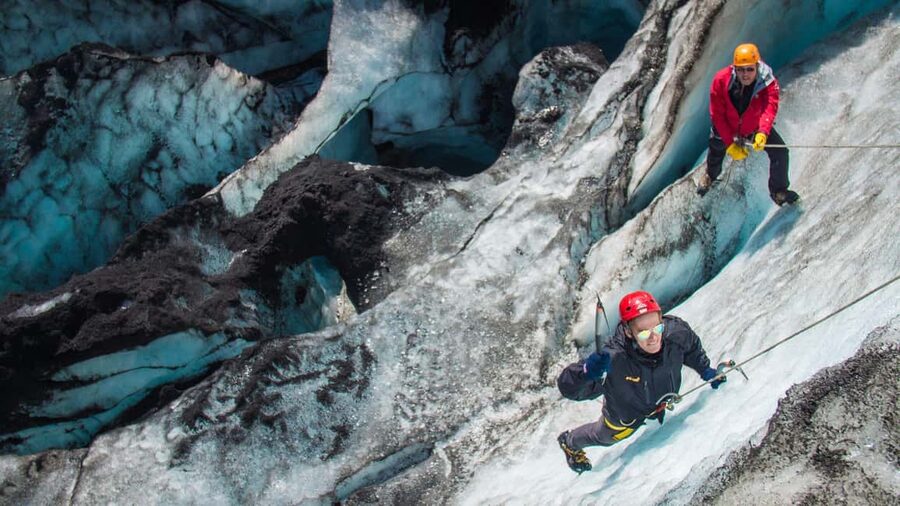
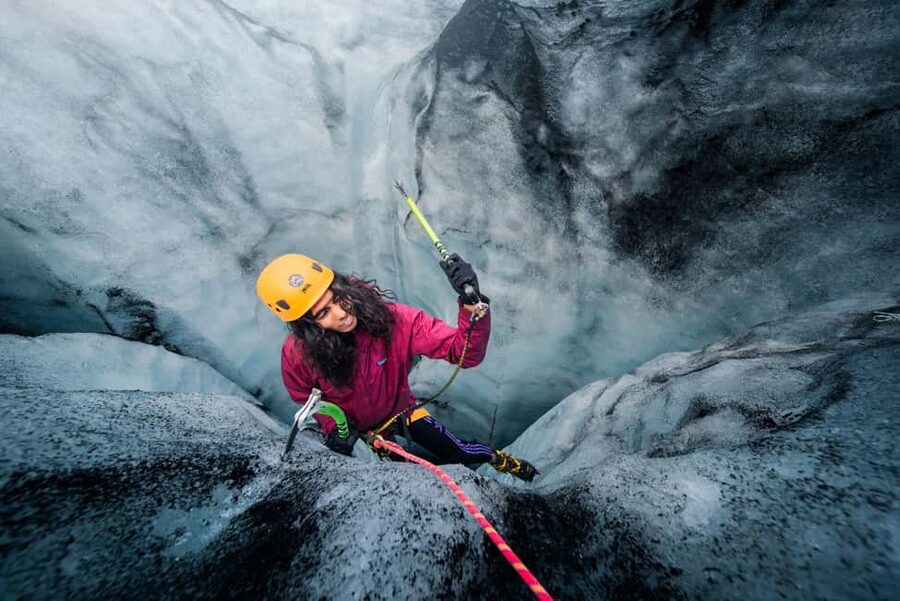
After exploring the glacier, the guide searches for a suitable place to set up the climbing equipment. This part is a short introduction rather than a full mountaineering course. You get the chance to use your ice axe and crampons on a moderately difficult section of ice.
The climbing is the emotional center of the outing. Hiking lets you observe the glacier, but climbing asks you to work with it. You feel the axe bite into the ice and learn how your feet and hands cooperate on a steep surface. The activity gives everyone a chance to try the basic experience, even though the exact amount of climbing time can depend on the group and conditions.
The small group helps here. With a maximum of six participants, the guide has more room to watch your technique, encourage you, and adjust the plan to different abilities. One four-person group received extra climbing time, and that is a useful sign for anyone who wants more than a quick photograph on an ice wall.
This is still a physical activity. The hike is easy by glacier standards, but the climbing section is rated moderately difficult. You should be comfortable walking in crampons and working with an ice axe under instruction. The tour is not suitable for children under 14, pregnant women, or people with heart problems.
Why the guide matters more than the equipment
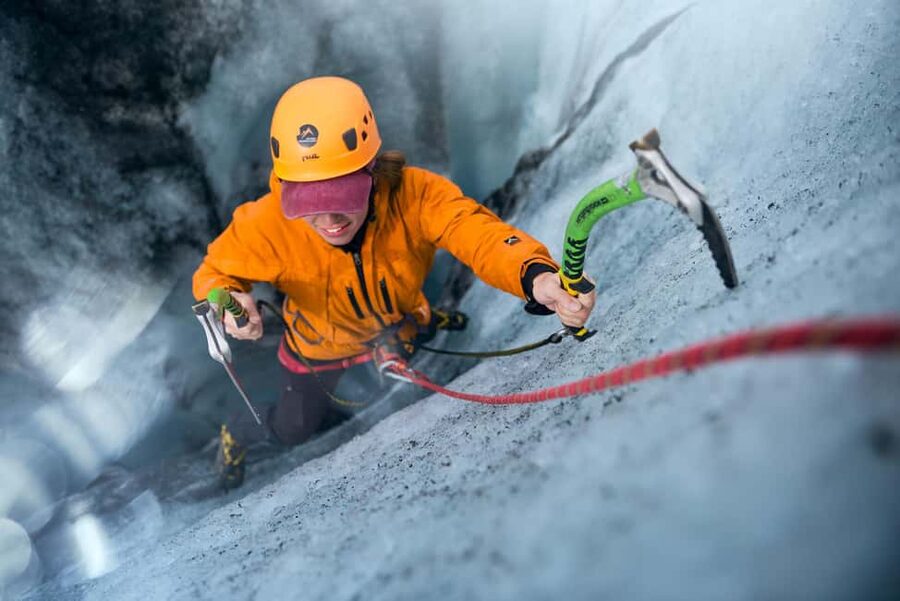
The crampons and axe are important, but the guide is the real safety system. Your guide chooses the route, explains the ice, checks your equipment, and decides where climbing is appropriate. On a moving glacier, that judgment matters more than simply owning the right gear.
The guides are English-speaking and qualified for glacier work. Sam has adjusted the plan around participants’ abilities and interests, while Bart and Carla have helped first-time climbers feel secure during the climbing session. Those details point to the kind of service you should expect: firm safety guidance paired with encouragement rather than a one-size-fits-all pace.
I would still treat the guide’s instructions as absolute. Do not step over a rope, approach a crevasse alone, or assume a harmless-looking patch of ice is stable. The glacier may look quiet, but it is an active environment above volcanoes, with wind, cracks, water, and shifting surfaces.
At the end of the climbing period, the guide leads you back to base camp. Tea, coffee, water, and restrooms are available there. That small comfort is welcome after several hours in cold conditions, though you should not expect a meal or a heated transport service as part of the price.
Same trailhead, a different sort of day:
- Sólheimajökull: Blue Ice Glacier Hike near Vík (Easy)
★ 4.7 · 1,260 reviews - Skaftafell National Park: Falljokull Glacier Advanced Hike
★ 4.8 · 1,083 reviews - Reykjavík: Volcano Eruption Site and Reykjanes Hiking Tour
★ 4.6 · 1,066 reviews - Skaftafell: Blue Ice Glacier Hike on Vatnajökull
★ 4.7 · 1,045 reviews
Getting to the glacier from Reykjavík or Vík
This is a self-drive activity, so the location should shape your itinerary. From Reykjavík, allow about 2.5 hours of driving. From Vík, the drive takes about 45 minutes, making the tour easier to fit into a South Coast stay.
From the west, drive 6 kilometers after Skógar, then turn left just after the bridge onto Road 221. Follow that road for roughly 5 kilometers to the Sólheimajökull parking area. The final section is expected to take 20 to 30 minutes.
From the east, after passing Road 222, drive about 3 kilometers and turn right just before the bridge onto Road 221. This is a gravel road, and you then continue for around 5 kilometers to the parking area. Allow 20 to 30 minutes for this final stretch as well.
Give yourself extra time. Arriving late could mean missing the safety briefing or delaying the group. The meeting point is the base camp by the parking lot, not a Reykjavík pickup point. Smoking is not allowed during the activity.
What $195 buys you, and what it does not
At $195 per person, this is not a cheap add-on to a sightseeing day. It is a specialist outdoor activity with a qualified guide, glacier equipment, safety equipment, four hours of instruction and exploration, and a group capped at six people.
The value becomes clearer if you want both a glacier walk and a first ice-climbing experience. Booking two separate activities could cost more and would likely involve more driving and repeated safety instruction. Here, the hike and climbing are built into one focused outing.
The price does not include hiking boots, rain gear, warm clothing, lunch, or transport. Those omissions are important. If you arrive with ordinary trainers and a thin jacket, the included equipment will not solve the comfort problem. Check your own gear before leaving for the glacier, and bring a packed meal if you will be away from town around lunchtime.
Tea, coffee, water, and restrooms at base camp add a useful touch, but they do not change the need to prepare independently. I see the price as fair for someone who wants personal guidance and a genuine attempt at climbing, less so for someone who only wants to see a glacier from the edge.
Who will enjoy this four-hour outing most
I would recommend this for adults and teenagers aged 14 or older who want active scenery rather than a short photo stop. It suits first-time climbers because the guide teaches the basics and keeps the climbing section manageable. You do not need to arrive as an expert.
It also works well for people staying in Vík who want a focused half-day activity. If you are based in Reykjavík, the driving time makes it a longer day, especially if you plan to add other South Coast stops. Build the glacier visit into your route rather than treating it as a quick side trip.
The tour fits you best if you like cold-weather activity, can walk for several hours, and are happy to follow a guide’s route. It is a poor fit if you dislike wind, cold, uneven ground, or physical instruction. The activity is not suitable for children under 14, pregnant women, or people with heart problems.
A camera is worth bringing, but protect it from wet weather and cold. The blue ice, ridges, and crevasses are likely to be the most memorable subjects, while the climbing section gives you the photographs that prove you did more than look at the glacier from a parking area.
Booking flexibility and the practical decision
You can cancel up to 24 hours before departure for a full refund, and you can reserve now while paying later. That flexibility helps when your South Coast plans depend on weather or road conditions.
The key decision is not simply the price. Ask yourself what you want from Sólheimajökull. If you want a short, easy walk with a view, this outing may be more demanding and costly than necessary. If you want to understand the glacier, cross its changing ice, and make a supervised attempt at climbing, the four-hour format gives you a useful amount of time.
Should you book the Sólheimajökull glacier hike?
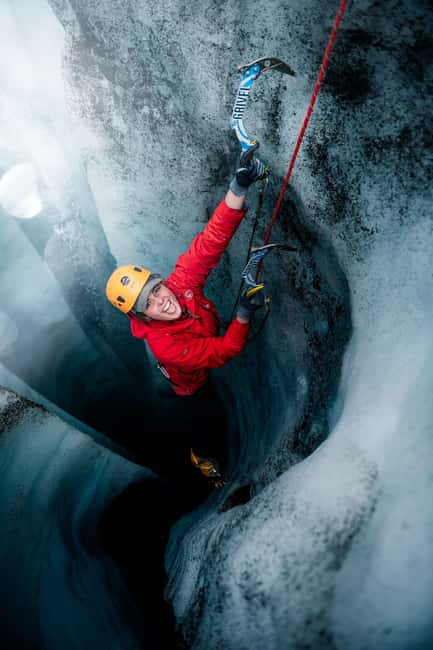
Book it if you want a small, active group and the chance to try ice climbing without signing up for a full technical mountaineering day. The combination of a manageable hike, unusual ice formations, and patient instruction makes it especially good for first-time climbers.
Skip it if you need transport from Reykjavík, do not own suitable boots and warm clothing, or prefer a low-effort sightseeing stop. For everyone else, $195 is a reasonable price for close access to a powerful Icelandic setting, personal guidance, and a real taste of climbing on glacial ice.
FAQ
How long does the Sólheimajökull glacier hike and ice-climbing tour last?
The activity lasts four hours, including the safety briefing, equipment fitting, glacier hike, ice-climbing introduction, and return to base camp.
Where does the tour meet?
You meet at the operator’s base camp beside the Sólheimajökull Glacier parking lot. You should arrive at least 20 minutes before departure.
How far is Sólheimajökull from Reykjavík and Vík?
The drive takes about 2.5 hours from Reykjavík and about 45 minutes from Vík.
What equipment is included?
The guide provides glacier gear and safety equipment, including crampons, an ice axe, and a harness. A qualified guide also leads the activity.
What should I bring?
Bring comfortable shoes, hiking boots, warm clothing, rain gear, and a camera. Lunch is not included, so bring food if you need it.
Who cannot join this activity?
The tour is not suitable for children under 14, pregnant women, or people with heart problems.
Just added around Iceland
- Jökulsárlón: Blue Ice Cave and a Long Glacier Hike★ 5.0 · 50 reviews
- 3 Hours Guided Breidamerkurjokull Glacier Hike from Jokulsarlon★ 5.0 · 3 reviews
- Glacier Hike + Ice Cave Adventure with Professional Photos★ 5.0 · 51 reviews
- Glacier Hike: Summer Treasure – Glacier Discovery★ 5.0 · 4 reviews
- Glacier Hiking In Skaftafell★ 5.0 · 41 reviews
- Arctic Glacier Hike away from the Crowds Vatnajokull Glacier★ 5.0 · 2 reviews
- Hiking Tours in Troll peninsula★ 4.5 · 2 reviews
- Hiking with Husky in Akureyri★ 5.0 · 41 reviews
Iceland Hiking Tours, compared.
Glacier Hike, Waterfalls and Black Sand Beach
Read our review →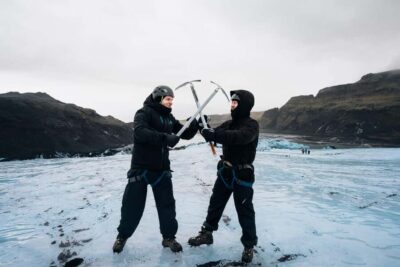
Sólheimajökull: Blue Ice Glacier Hike near Vík (Easy)
Read our review →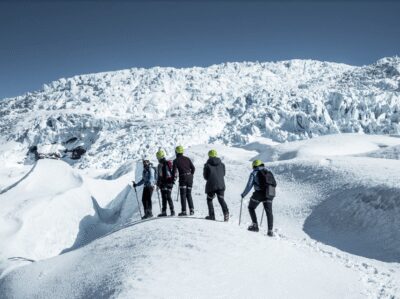
Skaftafell National Park: Falljokull Glacier Advanced Hike
Read our review →
Reykjavík: Volcano Eruption Site and Reykjanes Hiking Tour
Read our review →
Reykjavík: Guided Afternoon Hiking Tour to New Volcano Site
Read our review →Browse the lists this tour appears in